


How To Create a Gluten Free Sourdough Starter

Are you curious about sourdough?
You aren’t alone, it’s having a moment (again) and for good reason- there is nothing like a good sourdough!
The first step, is creating a starter - in other words your DIY yeast.
It takes a couple of weeks to make, but after you have it established you’ll turn out loaves, rolls, crackers, cakes and more whenever you want. All you have to do then is “feed” your new yeasty pet once a day (or once a week if you store it in the fridge).
But before you get to that, here’s how you create your starter:
This “recipe” ONLY requires gluten free flour and water. That’s it.
For flour I suggest that you use fine or superfine brown rice flour. I like Authentic Foods brand and Anthony’s Brand brown rice flours.
You could use a different gluten free flour if you want. I suggest using sorghum flour if you’d rather not use rice. Many people use buckwheat flour and I have used that in the past. I love the flavor, but buckwheat starter turns quite pink, and it can be hard to distinguish the natural starter color from mold which often takes a similar hue, so I suggest avoiding that at least in the beginning.
I would not suggest using a gluten free flour blend for the starter as the starches and other ingredients like xanthan gum are not helpful to your starter.
For the water, filtered water is noted here as many municipal water sources contain chlorine which can kill your culture, especially when it is just being established. You can buy inexpensive filtered (bottled) water at the grocery store or use a filter at home.
How to establish a gluten free sourdough starter:
Day one:
Clean your jar. Clean it really well because you don’t want any bacteria from the jar to establish itself in your starter. You want to catch the yeast in the air.
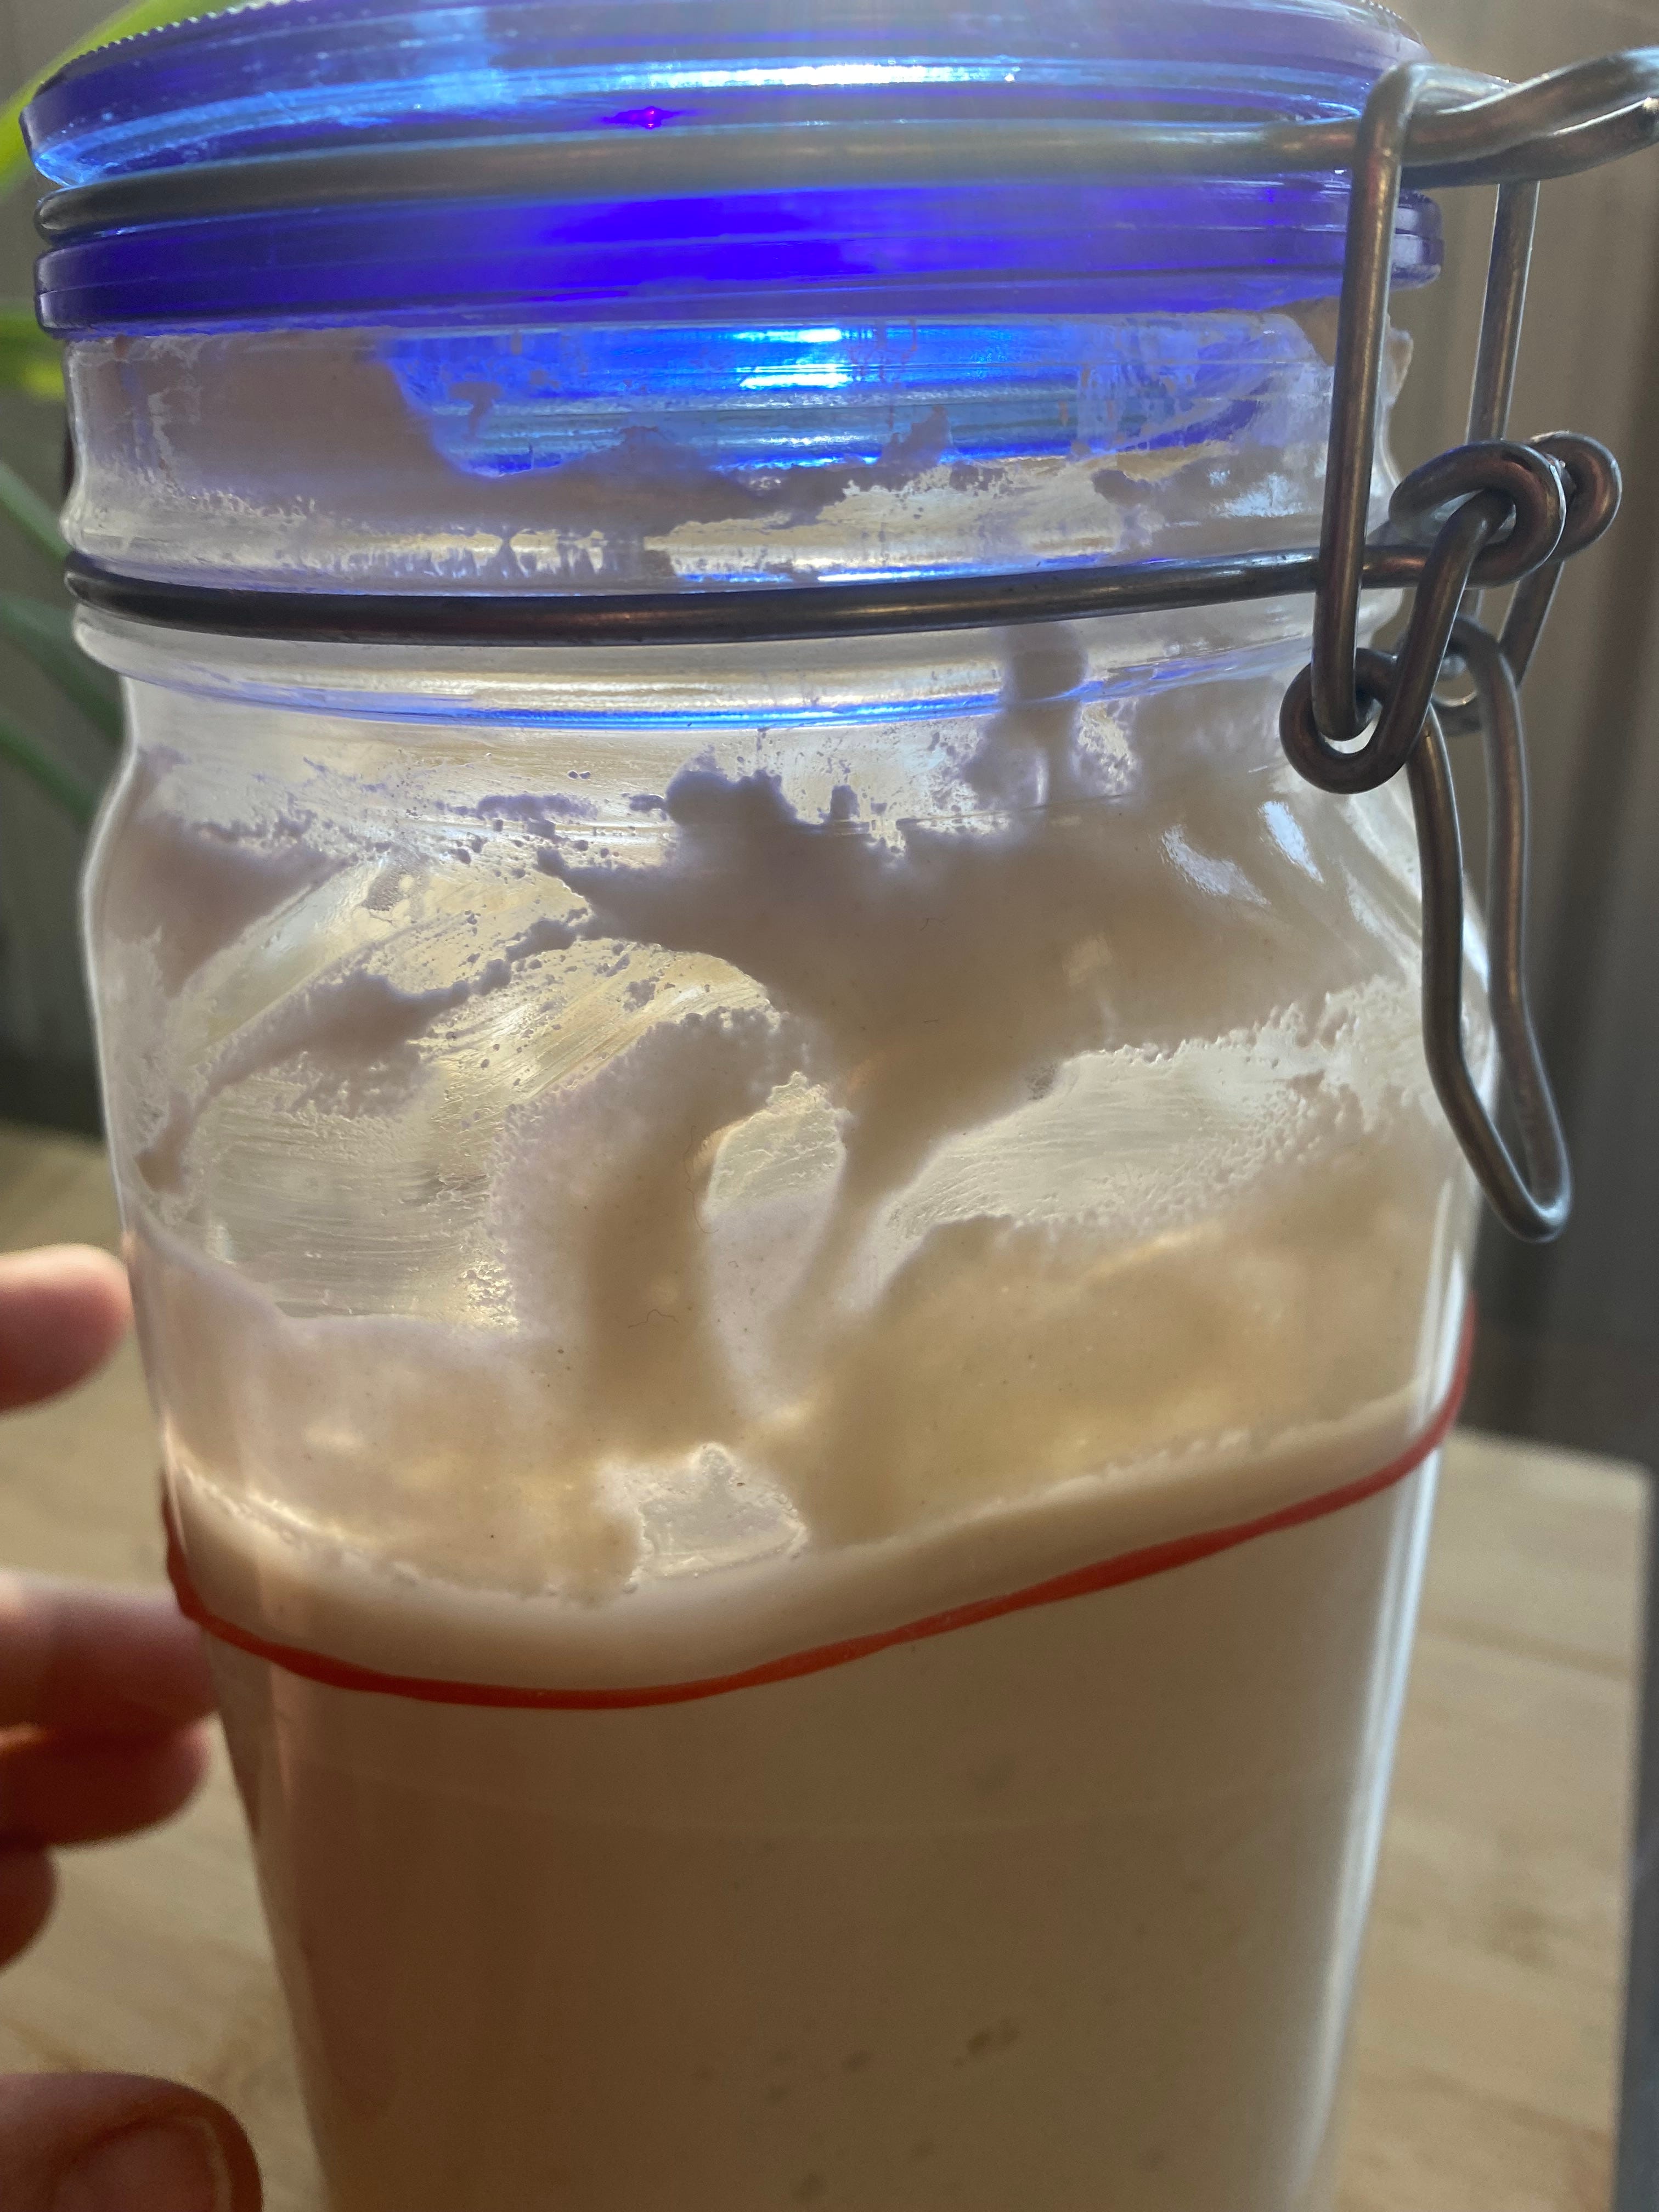
Combine 50g of brown rice flour and 50g of filtered water in the jar and stir. This should be the consistency of pancake batter. Scrape the sides of the jar clean and cover with a tea towel, parchment paper, or cheesecloth held on by a rubber band. You’re trying to catch the ambient yeasts in your house. Leave the jar for 12 hours. After 12 hours add 50g brown rice flour and 50g of filtered water to the jar and stir.
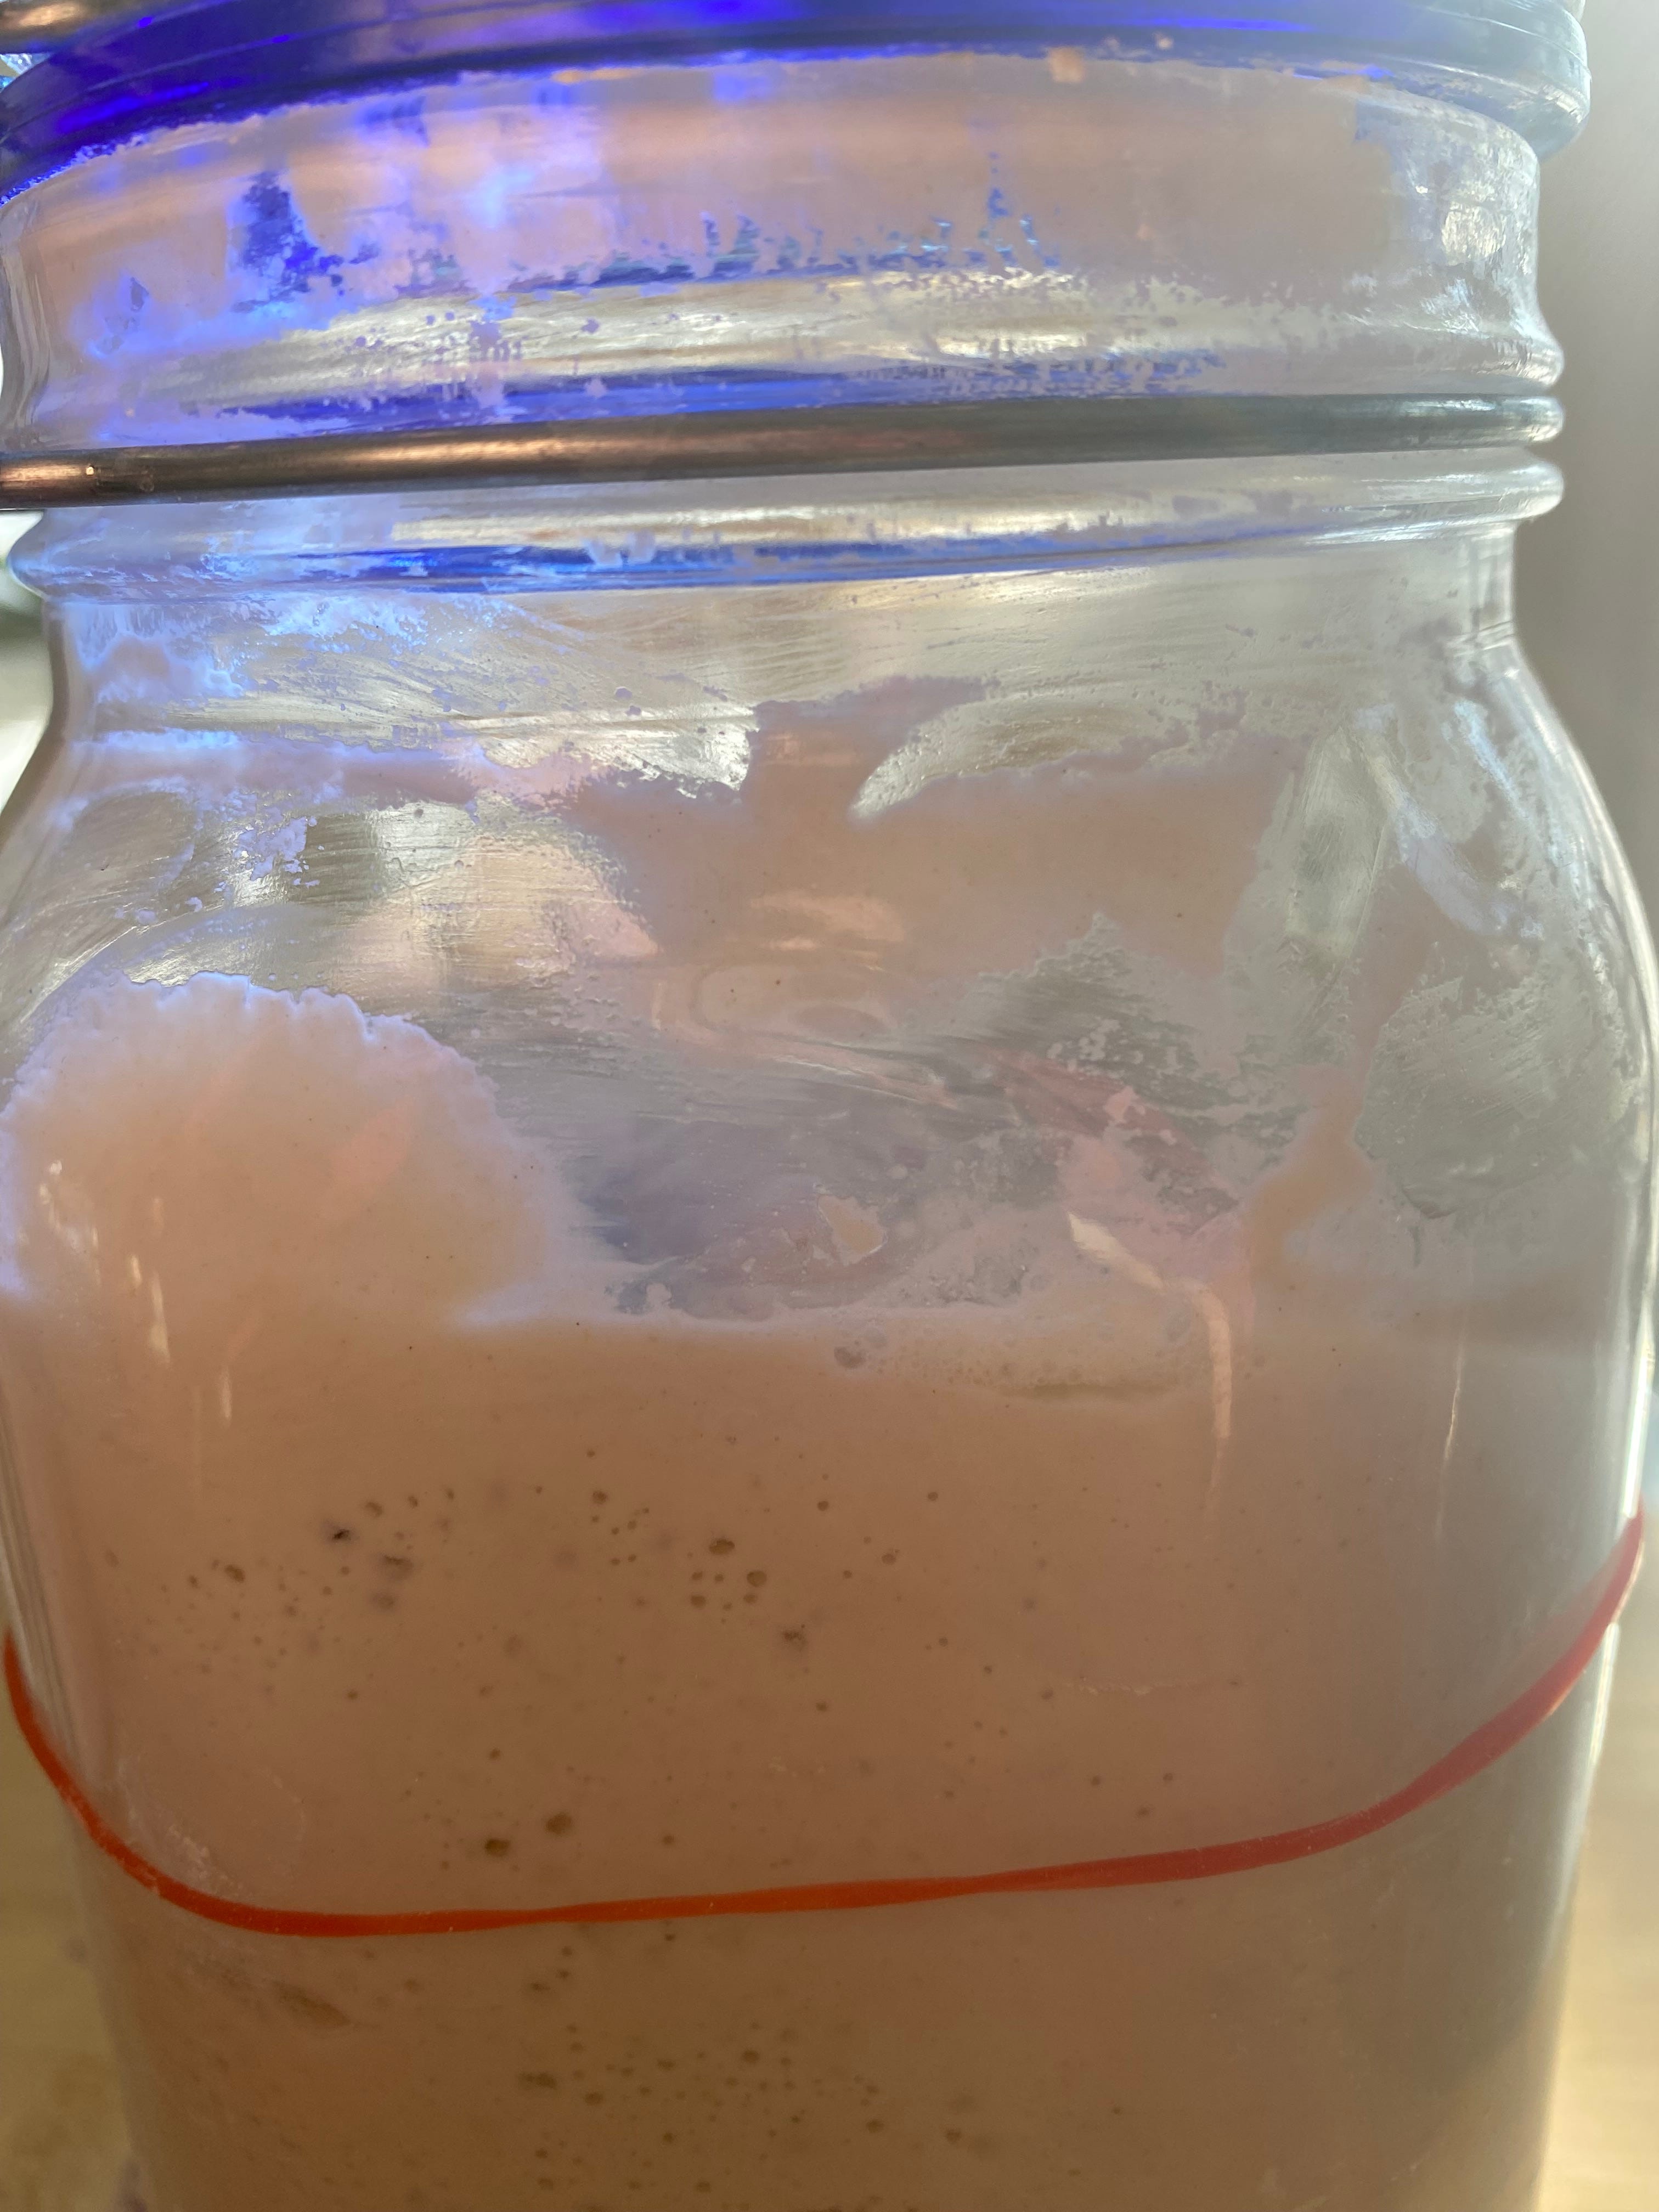
Each time you feed the starter add a rubber band or piece of painter’s tape to the jar right where the top of the mixture is, so you can see if the level changes easily. You should also be on the lookout for increased bubbling in the starter and a yeasty tangy smell. All of these signs will take some time to appear.
Name your starter- there are so many funny names out there- Edgar Allen Dough? Clint Yeastwood? Bread Lasso? What will you choose?
Day 2-8:
Remove all but 50g of the starter, add 50g rice flour, and 50g water and stir. This is the ratio you will always use to feed your starter- 1:1:1.
Right now while you are establishing your starter, you should throw away what you remove. The yeasts aren’t established yet and there could be other bacteria. Once your starter is stable you will not throw away the “discard” but save it to use in other recipes. More on that later.
Repeat the process of adding flour and water every 12 hours.
Day 9-13:
Remove all but 50g of the starter and throw it away. Add 50g of brown rice flour and 50g of filtered water. Do this only every 24 hours from this point on.
Day 14 plus:
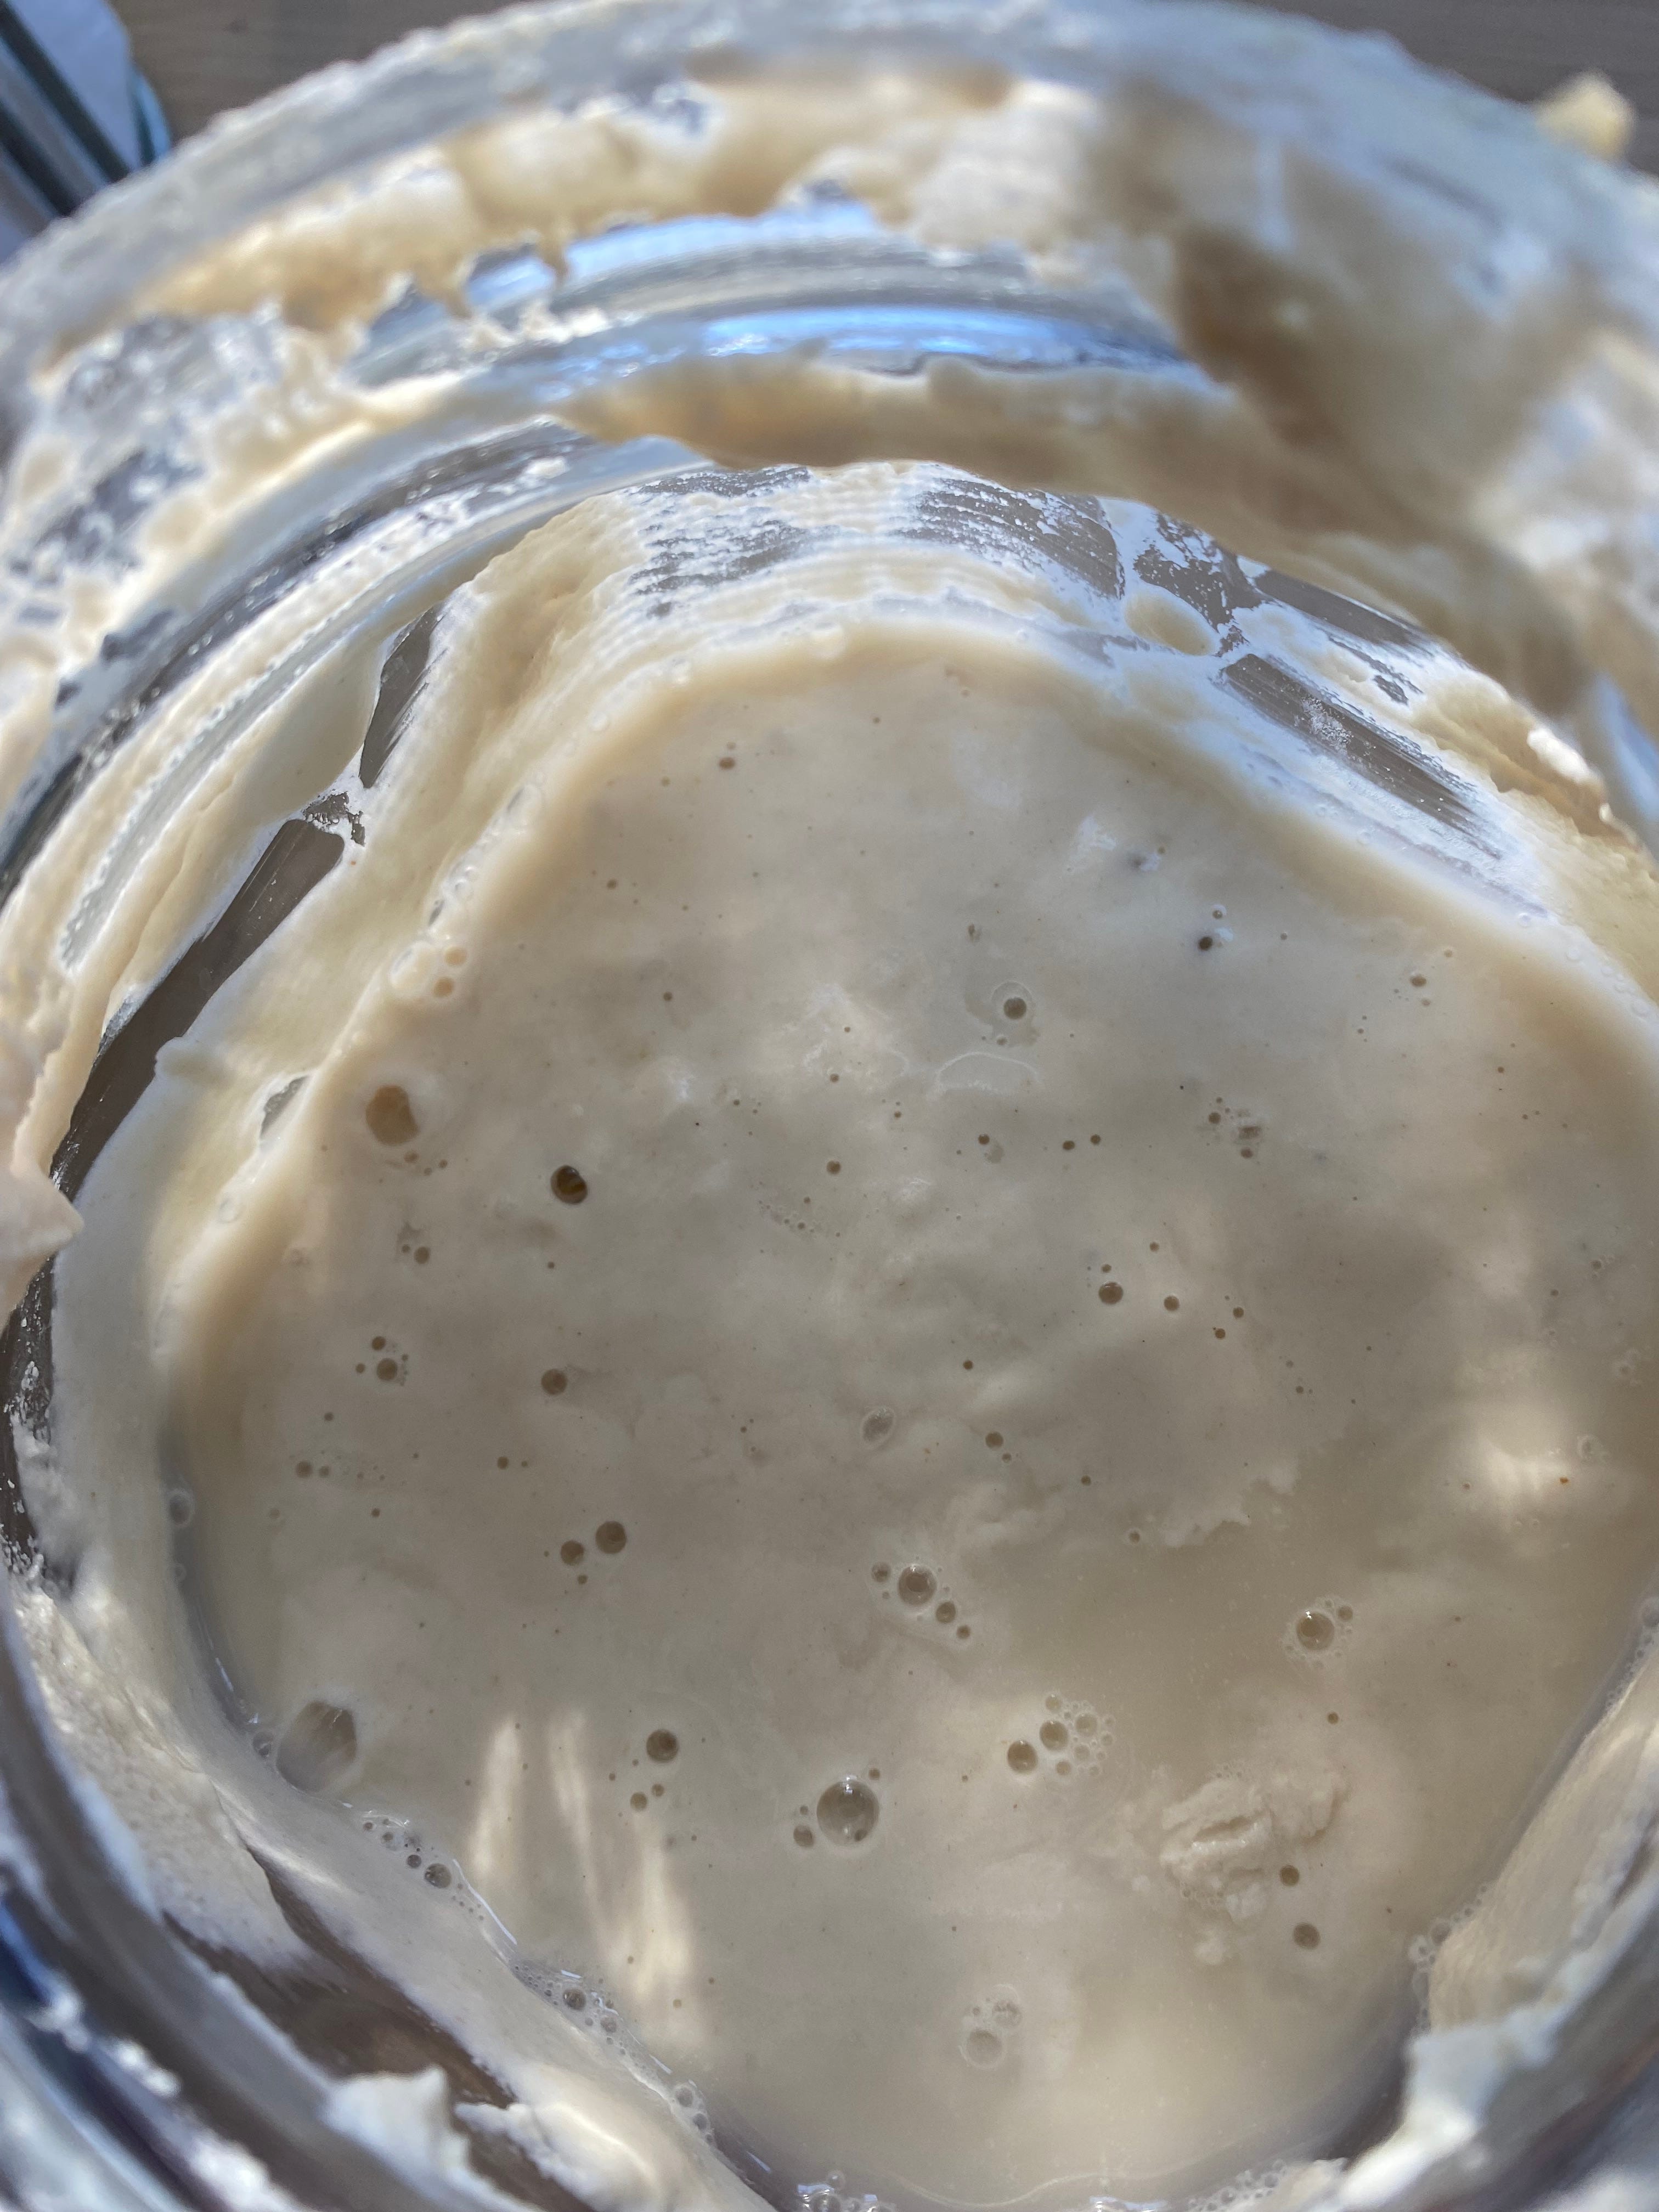
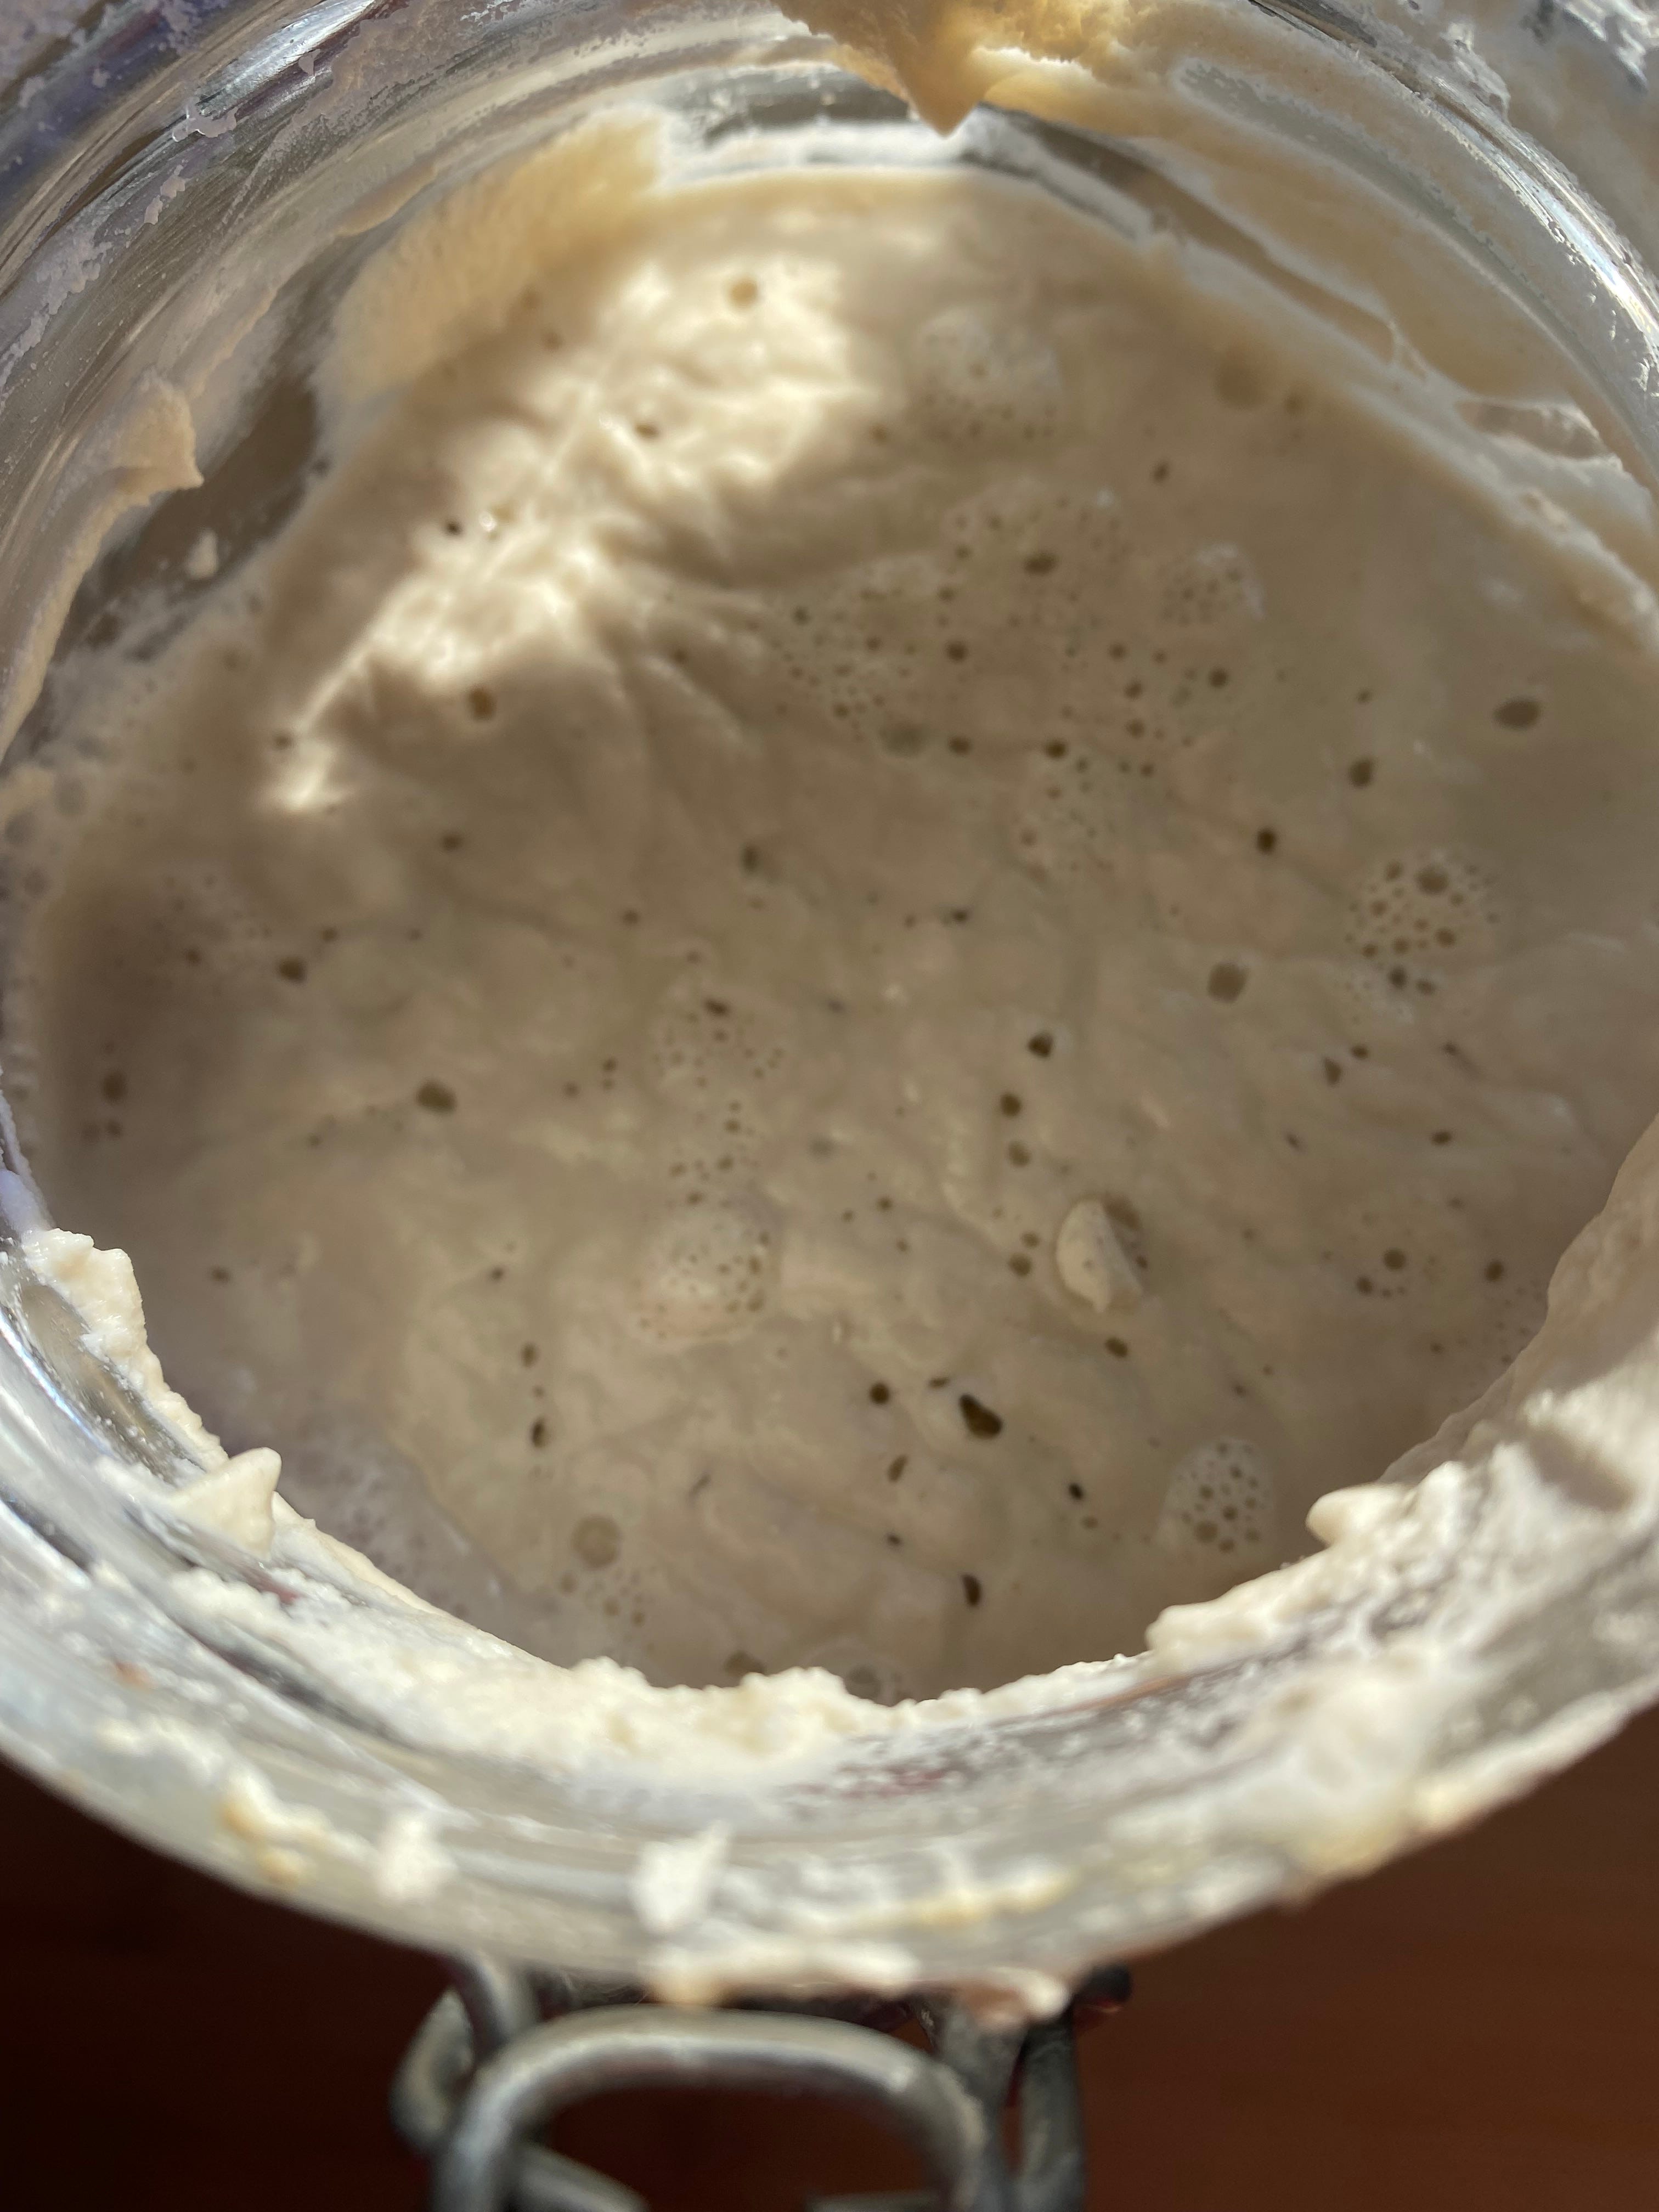
Your starter is likely ready to bake! Look for the starter to bubble and smell yeasty or tangy. The starter should “grow” in the jar to almost double hours after feeding. This doubled state is active and at that point is when you want to use it in your recipes.
Now when you feed your starter (now you can increase it to 100g brown rice flour and 100g filtered water) you can also save the discard starter that you take out of the jar. Move that to another jar and store it with the lid on in your fridge to use in “discard recipes” (more on that to come).
You can also start using your starter to make bread! I have recipes for that coming soon.
After the starter is established:
You can store your starter on the counter and feed it once a day, in general this is what I do.
You can store your starter in the fridge and only feed it once a week (I’ve gone even longer when on vacation) - when you want to bake bread you’ll need to “wake it up” by feeding it, and leaving it on the counter for 5-10 hours (depending on how warm your kitchen is). Sometimes bread recipes incorporate that step.
If your jar gets crusty, move your starter to a clean jar. It’s helpful to have a couple of jars ready to move it when cleaning is needed.
Do you need more starter for a recipe? Don’t discard and you’ll have more starter- it’s as simple as that. Keep the feeding ratio (you can see how that would escalate quickly to a LOT of starter)
What is a problem?
Fuzzy growths, strange colors, stinky smells, sliminess. None of these are present in healthy sourdough starters. When in doubt, dump it out and start again. You DO NOT want any other bacteria or mold in your starter.
Why is there liquid on top of my starter?
That liquid is called “hooch” and is the sign of a hungry starter. This starter needs to be fed and may be going too long between feedings or you aren’t feeding it enough! You can Stir that liquid back into the starter when you add your next feeding.
Get ready sourdough bread… here you come!!
Happy (sourdough) baking,
Rachel
PS What will you name your starter? Let me know!
Next Level Gluten Free recipes are tested over and over and scientifically work! Then I walk you through all the details. Upgrade to a full membership for a library of gluten free baking workshops, product comparisons, and exclusive gluten free recipes.
Yes, there are quicker ways to make gluten free bread! If you’re in the mood for that try:


Friends, do you have any fun ideas for starter names?
Thanks Rachel. I've really been into sourdough this past year, but I really need to switch to a gluten free option. Appreciate this.