


Gluten Free Baguettes
The Gluten Free French Bread You Crave

Hi Friends,
Last year when our family took a trip to Paris, I asked my sons what they were hoping to do while they were in France.
My youngest son had an immediate answer. “I want to walk down the street with one of those sticks of bread, and then take a big bite of it.”
Me too buddy, me too.
For a celiac that was a tall order, even in Paris. We did find some AMAZING bakeries that honestly made us all catch our breath. (Side note- anyone interested in hearing about where we ate in Paris? Hit reply and let me know if you’d like that write up!)
But we don’t live in Paris. And I still want to walk around with a baguette sticking out of my chic market bag. What to do? Obviously, this recipe is the answer!
I’ve designed this recipe to be as simple as possible. It uses a gluten free off the shelf flour blend - I have suggestions of what has worked well in this post and in the recipe I’ve added a couple of new brand suggestions as well.
There is a tiny bit of oil in the recipe - not traditional in baguette recipes… but neither are any of the other ingredients, such is the gluten free life!
The method uses a fast rising time, but I did test letting the dough rise in the refrigerator so that you can plan ahead, it worked out great!
The shaping is simple, but if it’s not QUITE how you hoped at first, don’t hesitate to stop and try it again, you won’t hurt the dough by overhandling it, one of the benefits of gluten free! I love the shaping video in
’s (glutenful) baguette recipe.Do you have your butter and salt ready to go? Because after these are baked, that’s all you need!
Happy Baking,
Rachel
Next Level Gluten Free recipes are tested over and over and scientifically work! I walk you through them in an approachable way, so that you succeed in the kitchen and are way less sad at dinner time. Upgrade to a paid membership and live a more delicious gluten free life.
Below is one of my signature gluten free recipes for paid subscribers - tested over and over it really works!
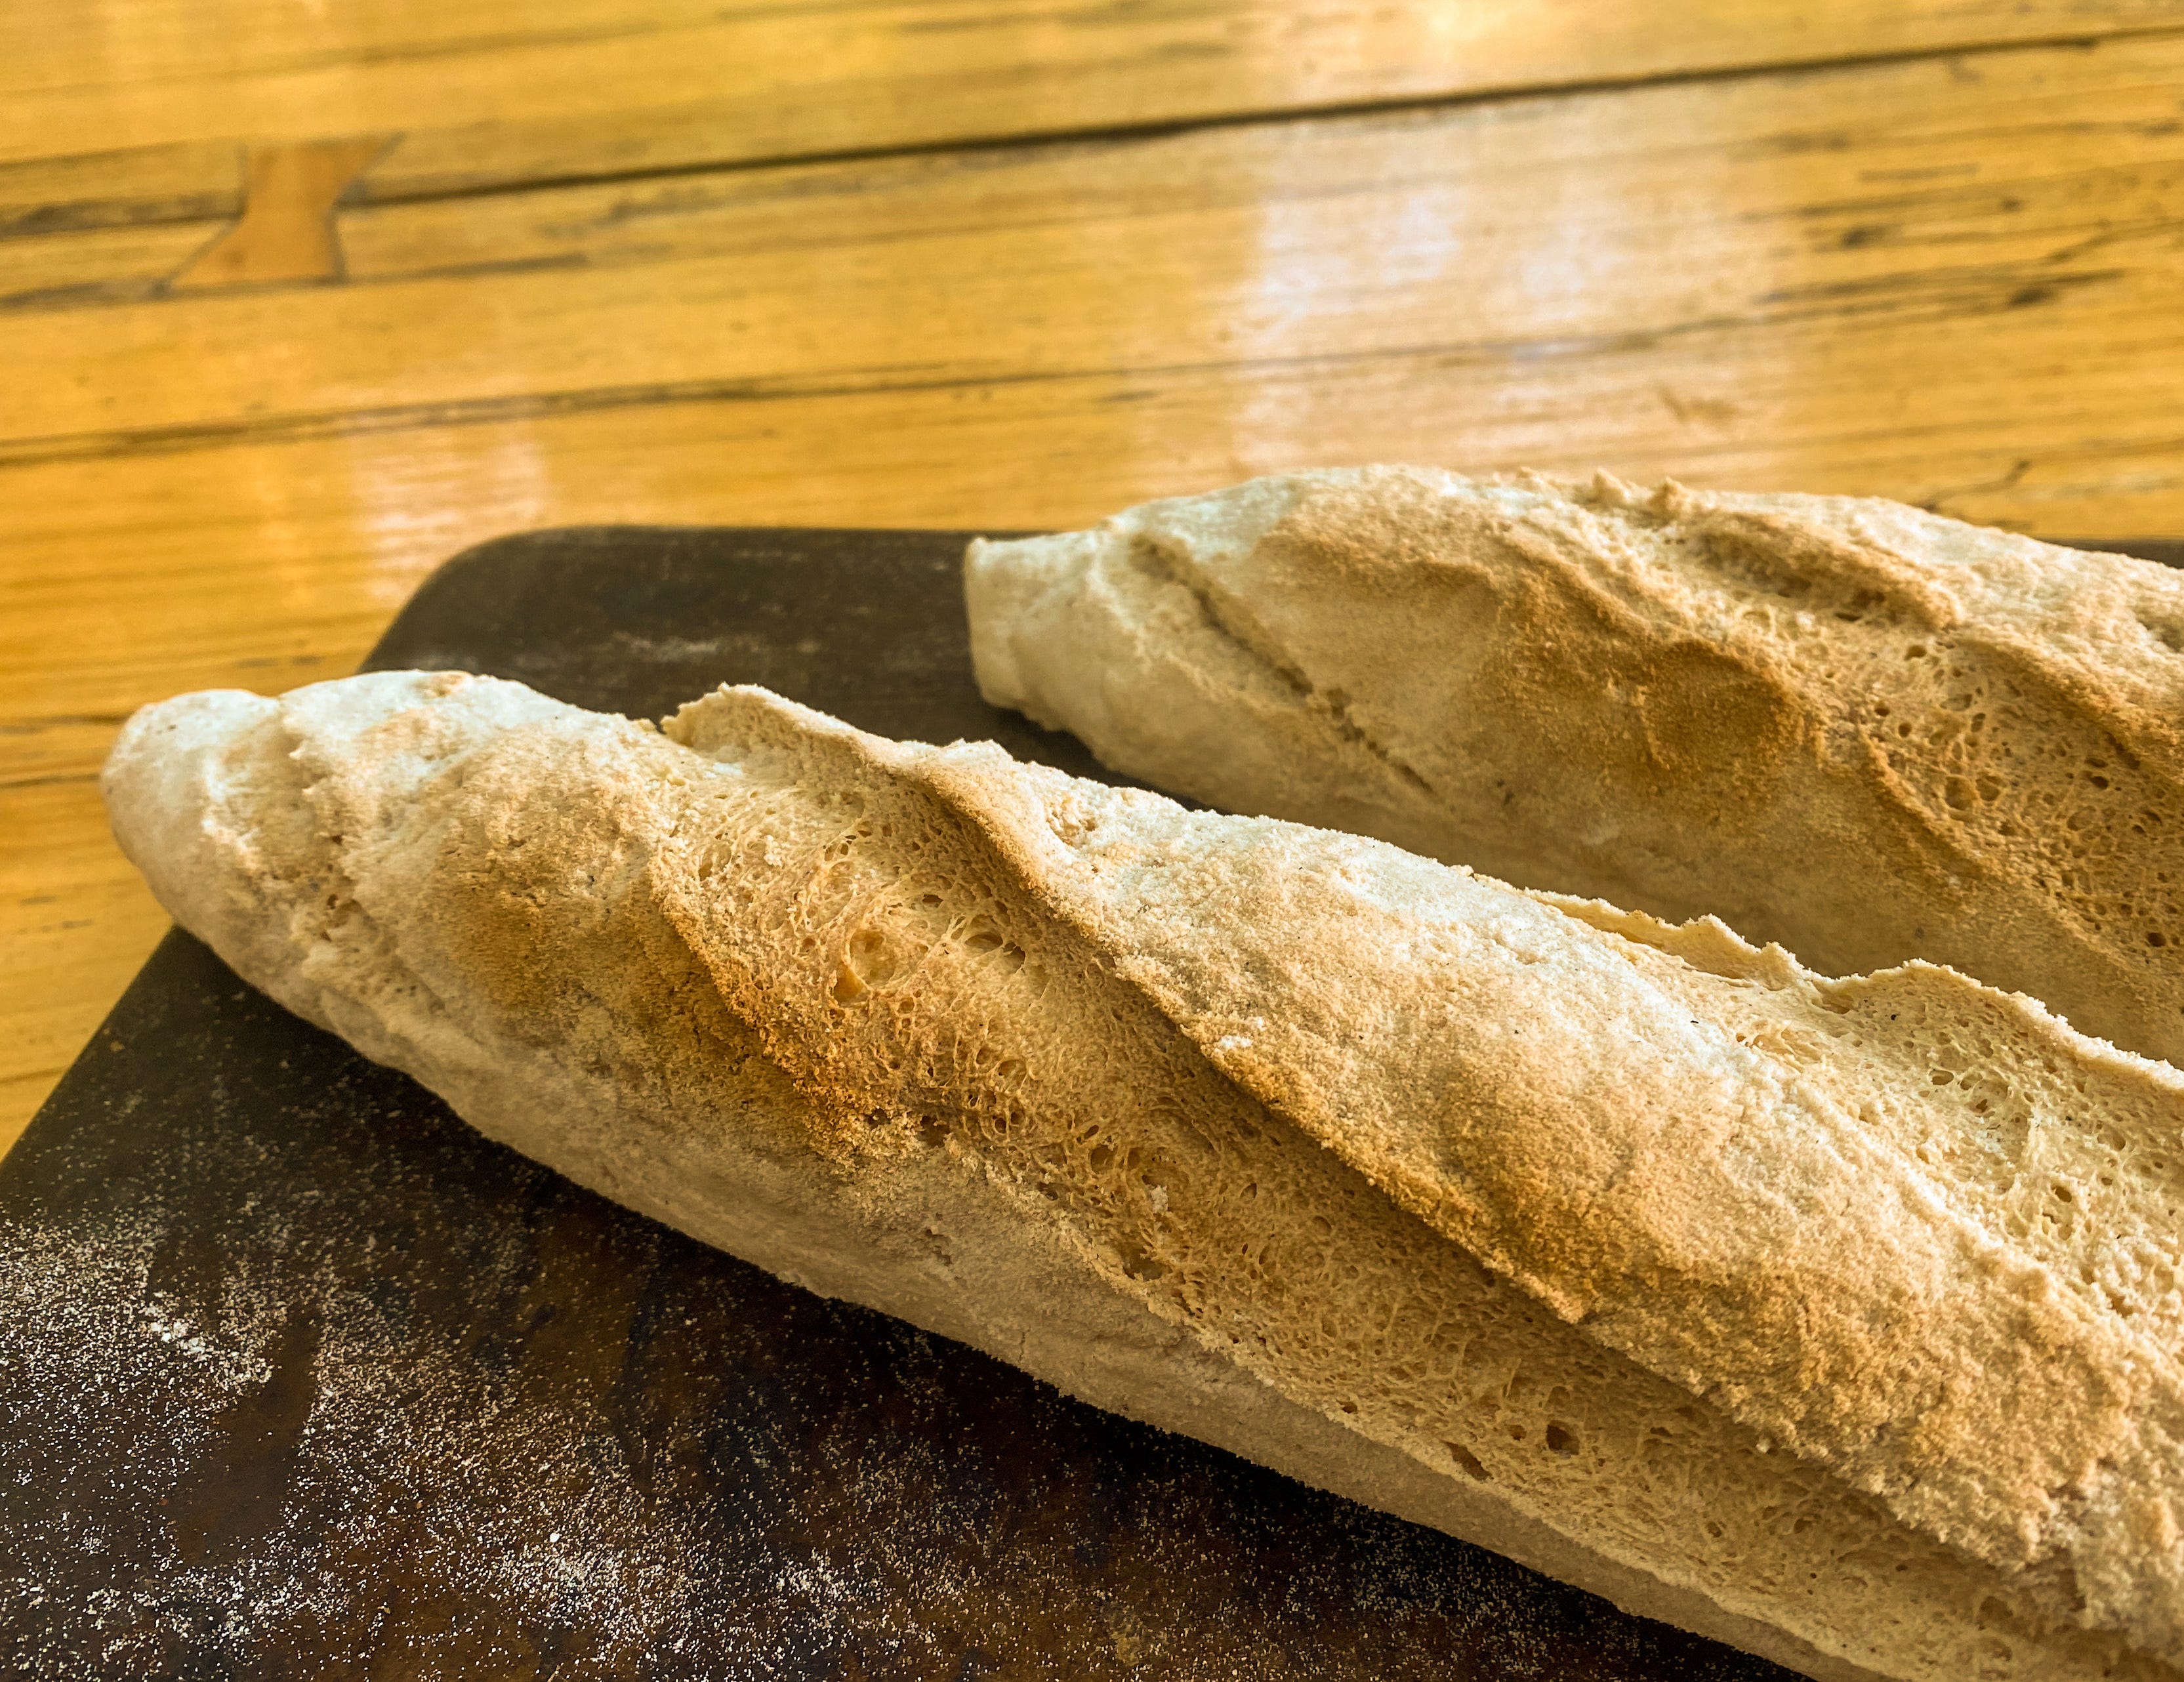
Gluten Free Baguettes
This recipe worked fabulously with gluten free one to one flour, but I also tested it with Authentic Foods Steve’s Gluten Free Bread Flour and King Arthur Gluten Free Bread Flour*(This new bread flour blend from King Arthur contains gluten free wheat starch and is suitable for celiacs but not those with a wheat allergy). Both of those flour blends already contain the psyllium, so you can leave it out of the recipe if you’re making it with those blends. They both worked beautifully, and some of you will be excited to simplify gluten free bread baking even more!
3 3/4 cups (540g) gluten free one to one flour blend (King Arthur Measure for Measure, Krusteaz, Better Batter, etc)
2 tsp (12g) salt
25g psyllium husk powder (unless using a blend that contains it)
2 tsp (10 g) instant yeast
3 Tb (36g) olive oil
2 1/2 cups (580g) water
rice flour or additional one-to-one flour for shaping
Mix the flour, salt, psyllium, and yeast in the bowl of a stand mixer or a large bowl. Add the water and oil to the dry ingredients.
Mix the ingredients on low with the flat beater of the stand mixer for 5 minutes (or if not using a mixer use your clean hands to mix the dough for 10 minutes).
Pull the dough out onto a lightly rice flour dusted counter, and divide it into 3 equal portions. Roll each into a 9x5 inch rectangle with a lightly floured rolling pin (or by patting with your hands). The long edge of the rectangle should be towards you.
Roll the dough into a jelly roll shape to form a log and press the ends in so that it sticks together. Like a log of playdough roll the dough log back and forth elongating the log slightly with your hands and press down on the ends while rolling to form a point if desired. The log should be around 12 inches when you are finished. Repeat with the other 2 pieces of dough.
Place the dough on a baguette pan or a sheet pan lined with parchment paper. Cover with a tea towel and let rise 60 to 75 minutes. When risen the dough will be puffy and risen 150%.
Heat the oven to 425F. While the oven is heating place a sheet pan on the bottom rack of the oven.
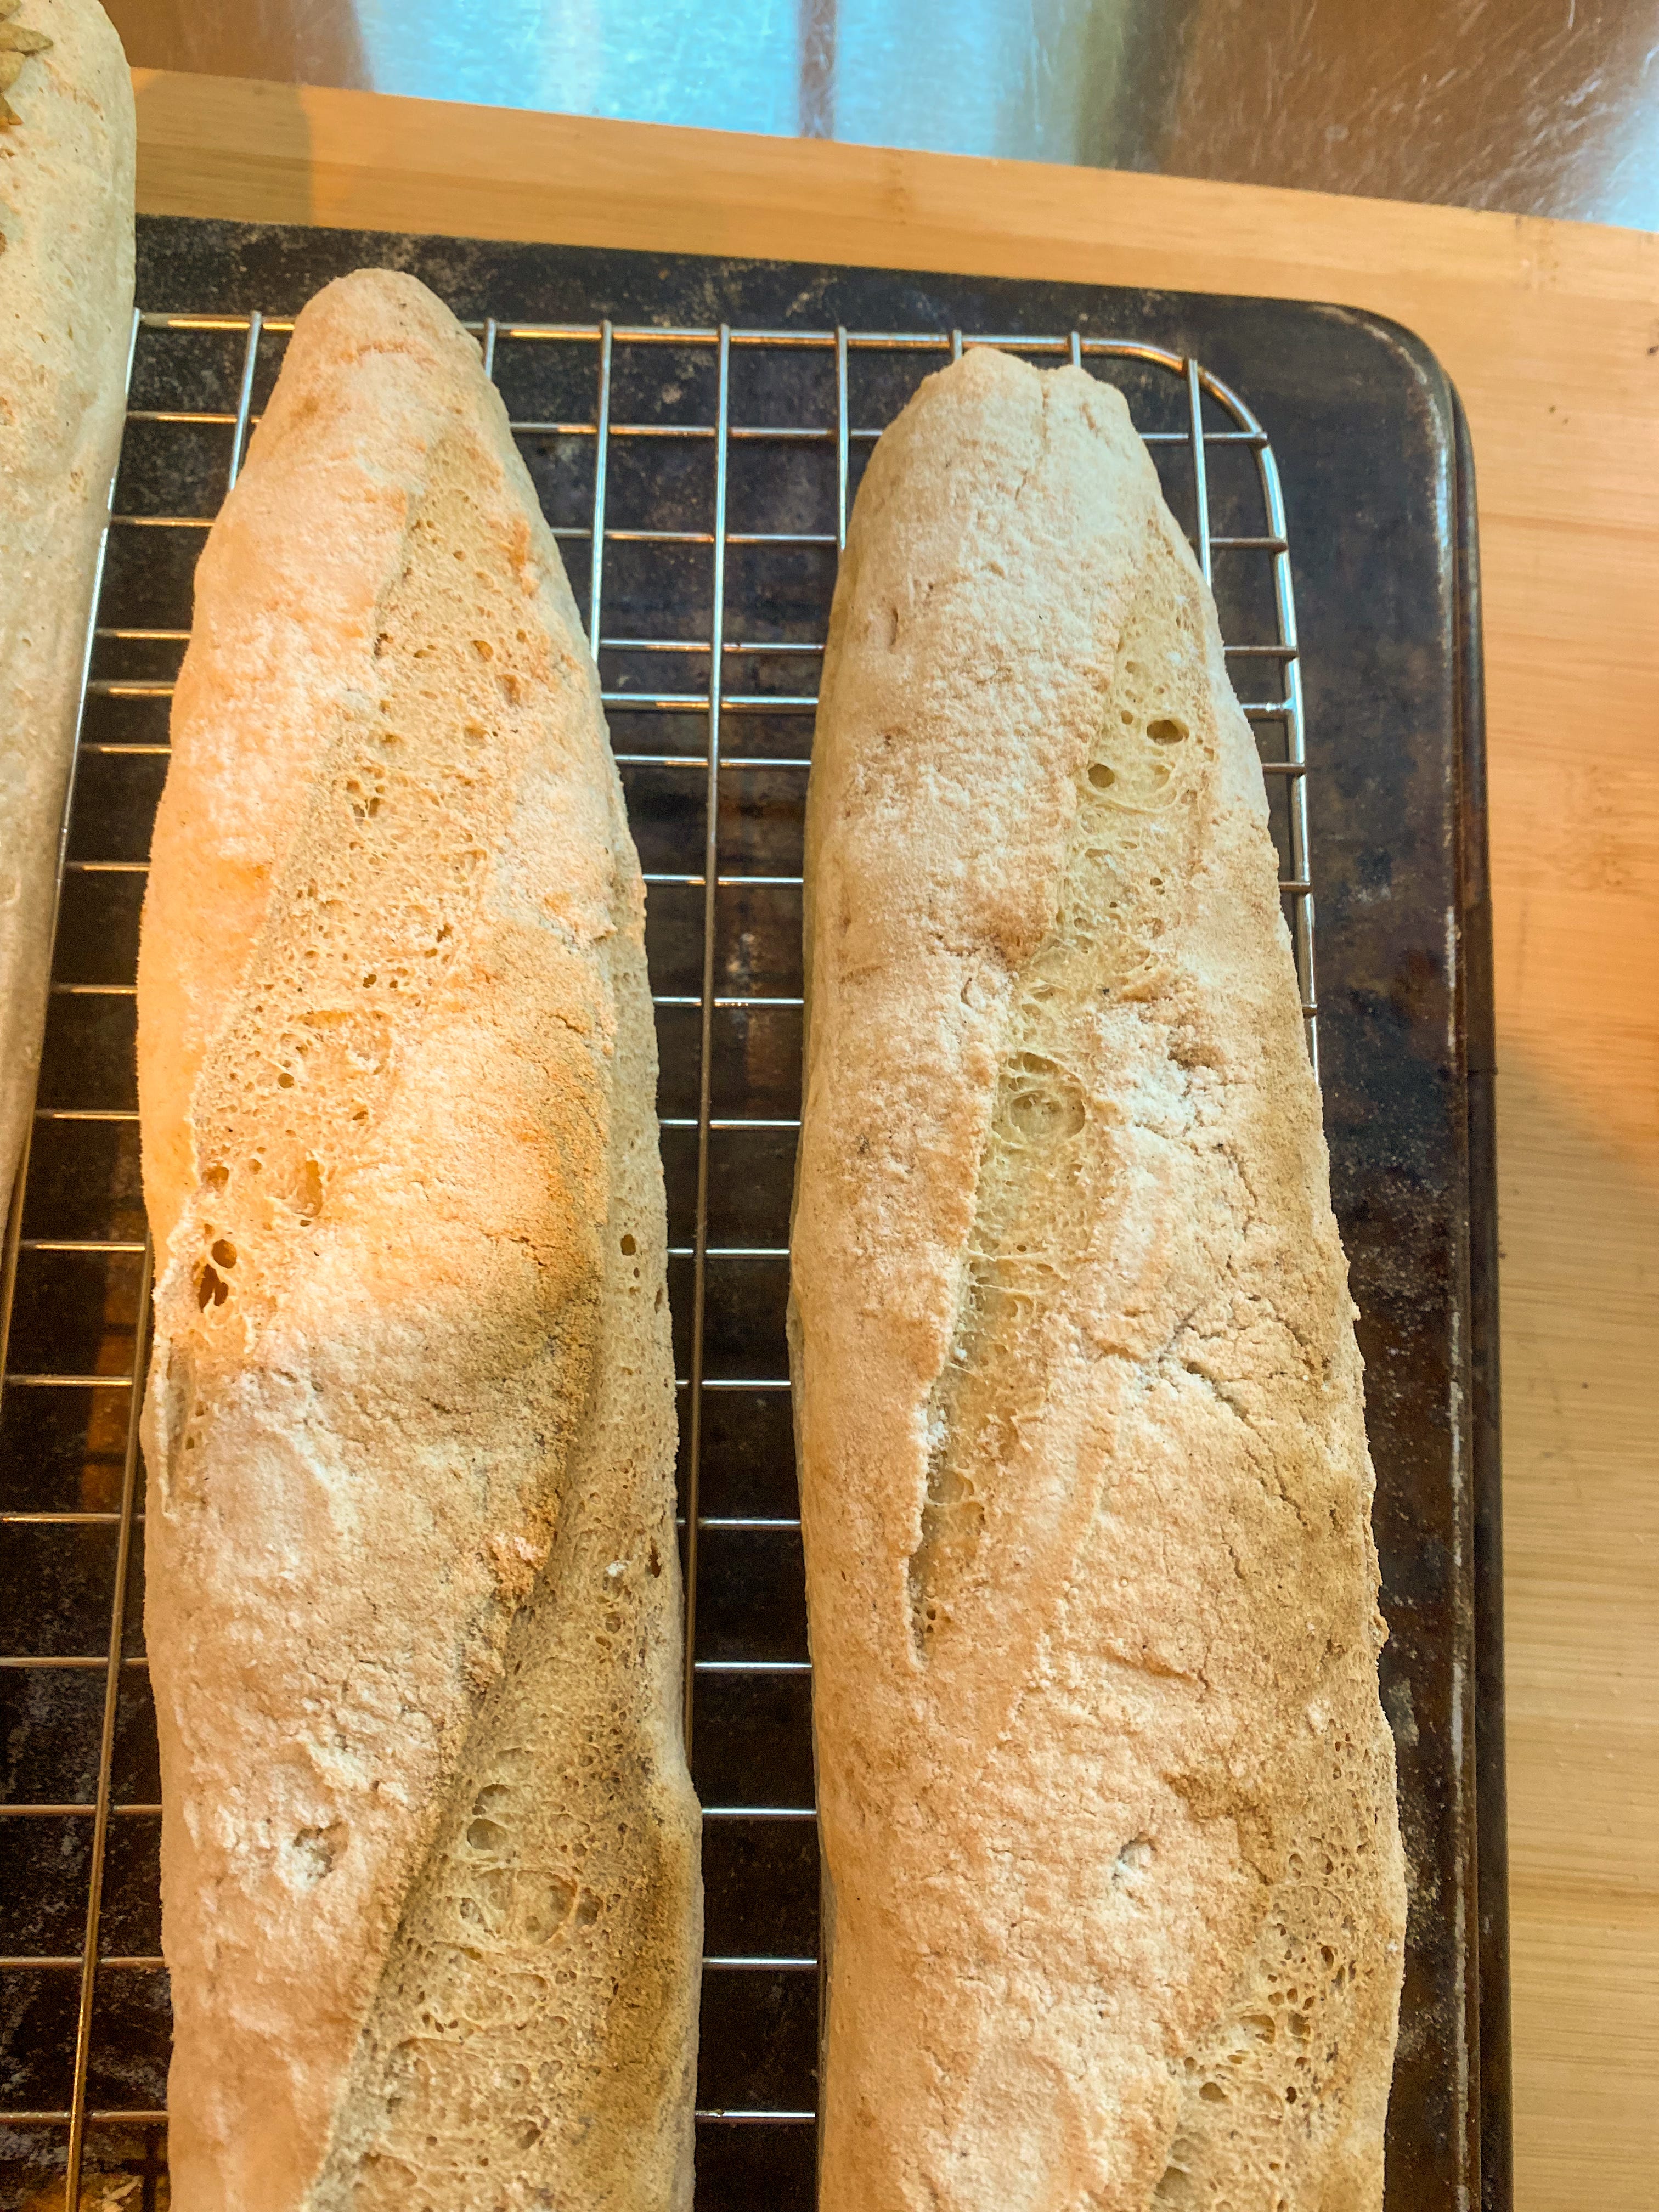
When the dough is risen, remove the towel and use a sharp knife or baker’s lame to cut slashes in to the dough for the dough to expand.
Put the sheet pan or baguette pan into the oven, and pour 1 cup of water into the waiting hot sheet pan on the bottom rack, to create steam.
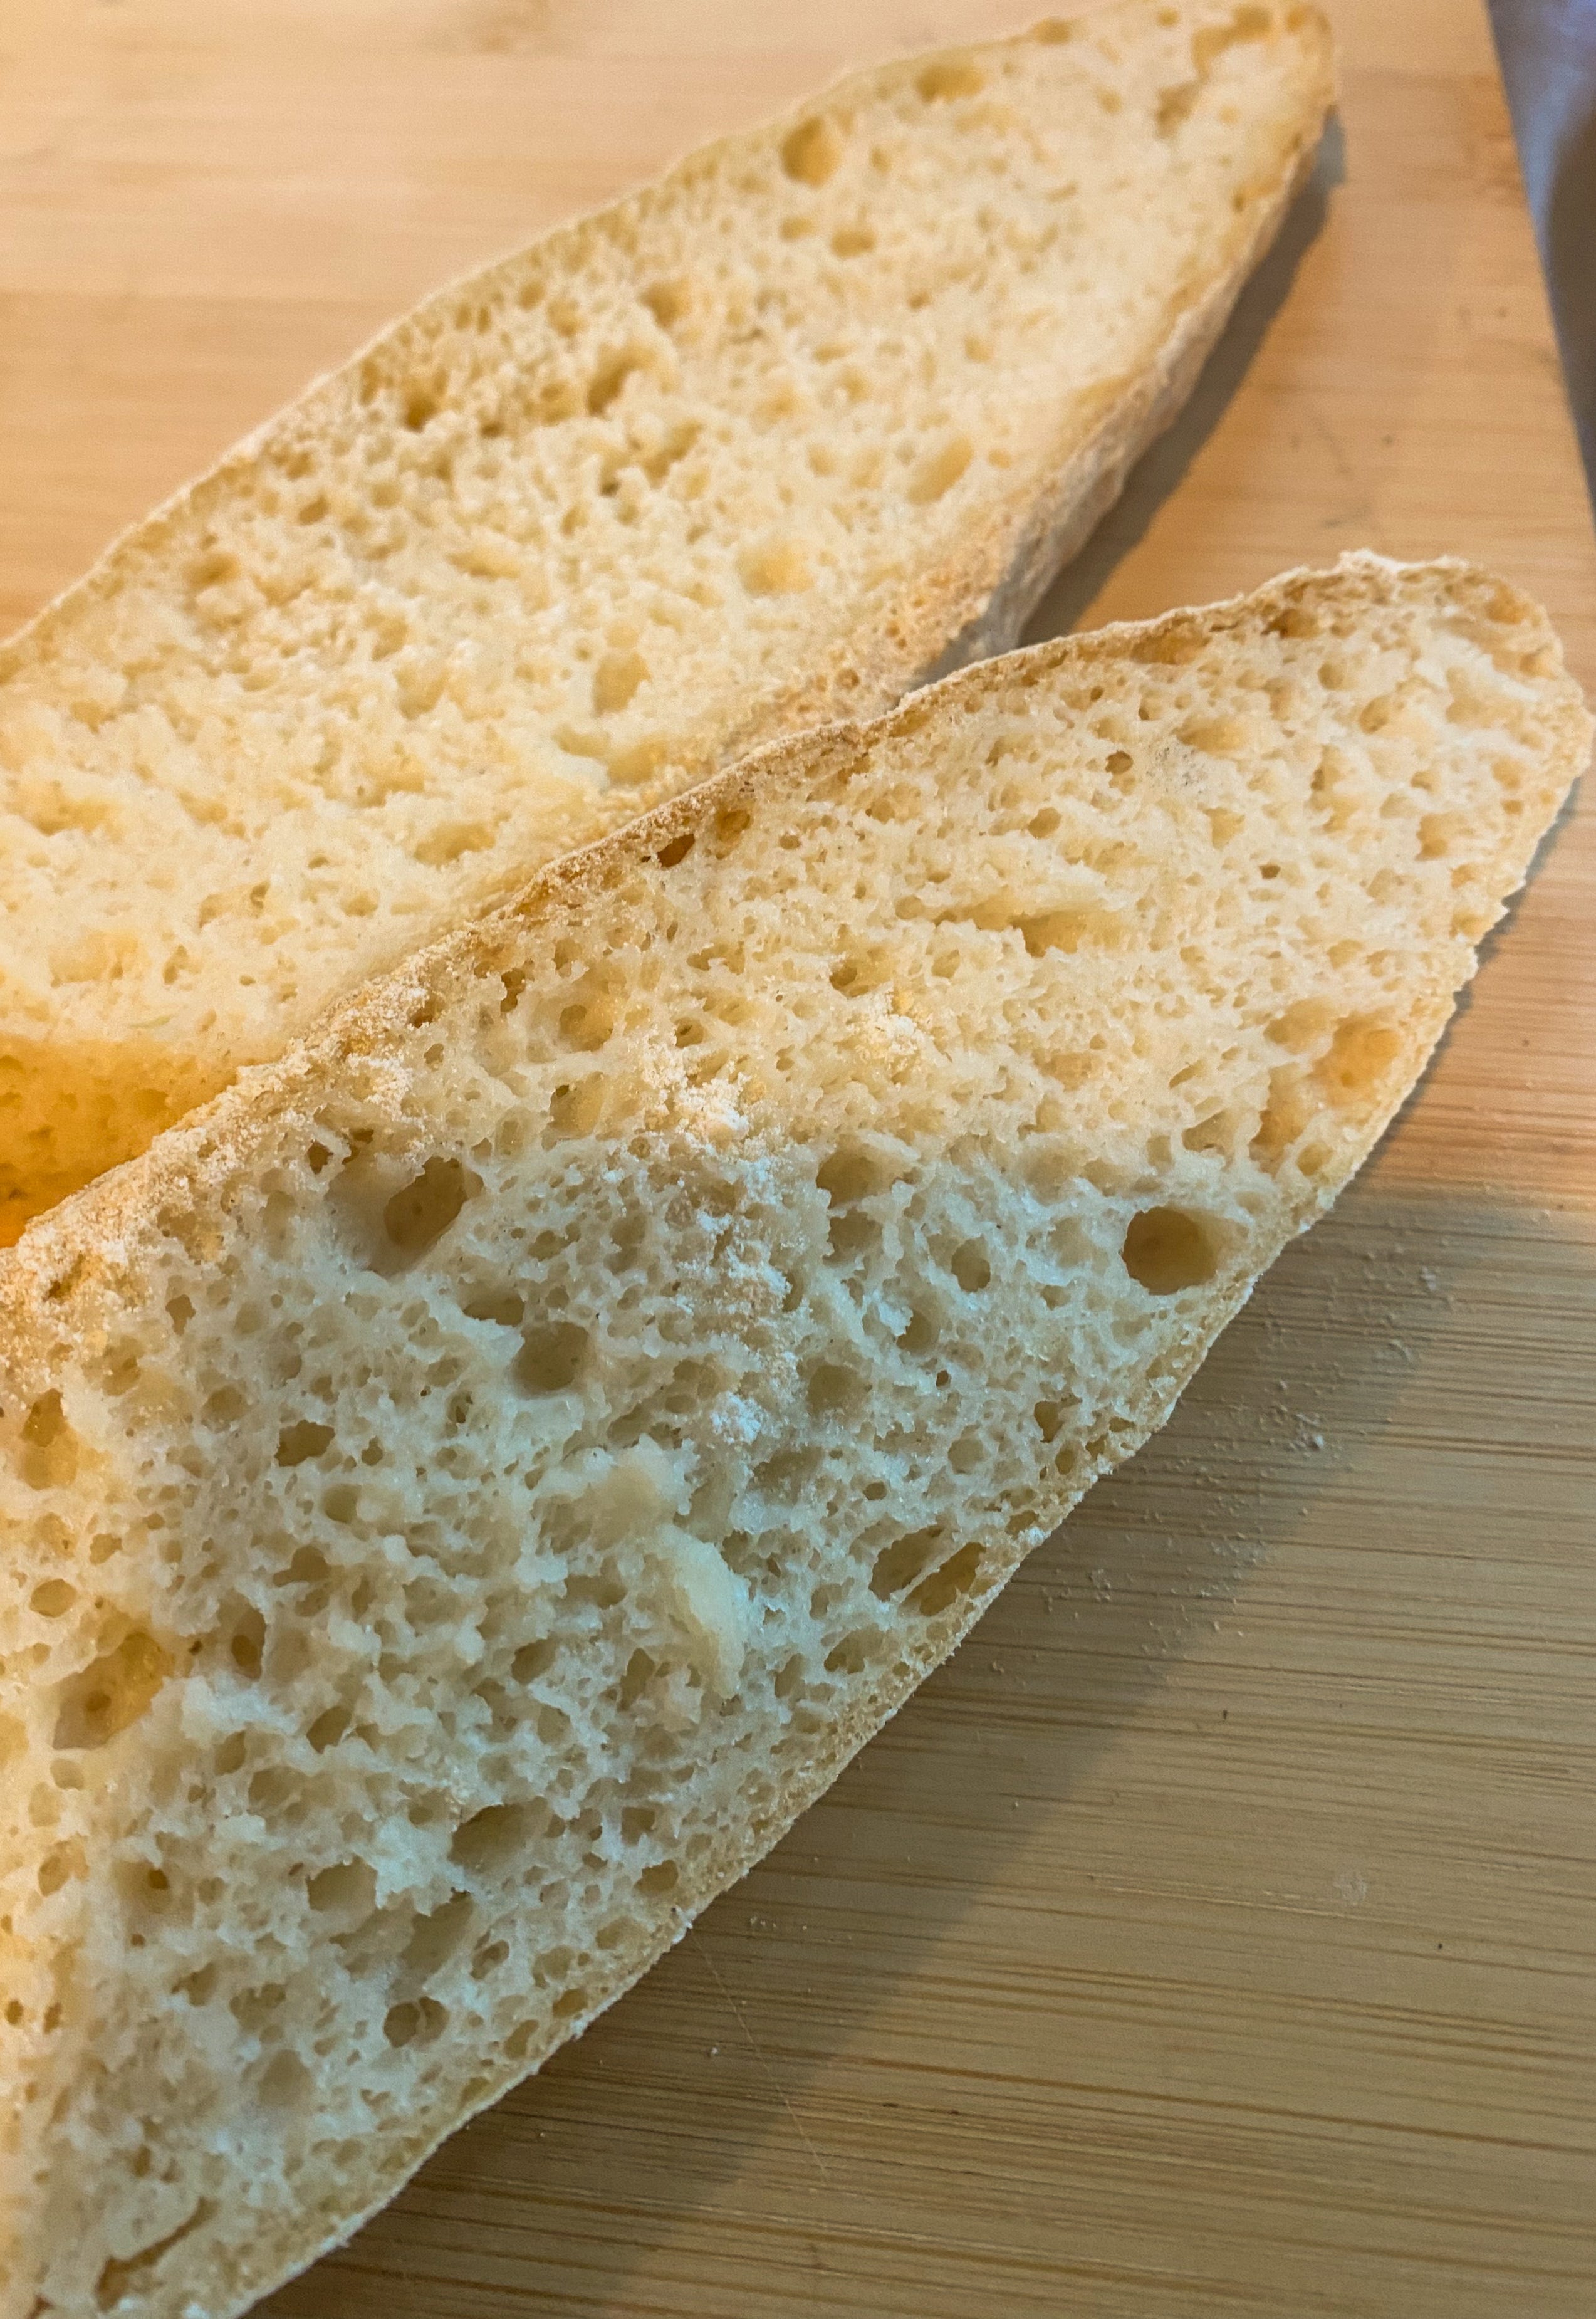
Bake the baguettes for 40 minutes until they read 205F on a thermometer inserted into the interior of a loaf.
Remove the hot baguettes to a cooling rack and let cool until room temperature. It is so hard. Prepare the butter, this is going to be worth it!!

I tried your Brazilian Cheese Bread!!!! It was delicious! Can't wait to try this one too!! Thank you SO MUCH!! There should be a warning on these recipes because they may cause weight gain! I just can't leave it alone! Lol