Gluten Free Chantilly Cake
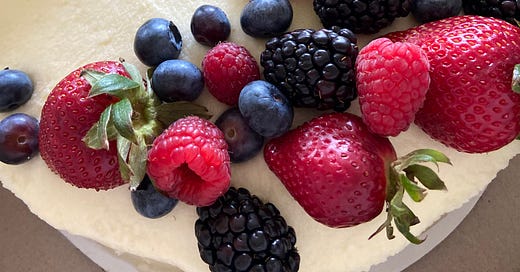
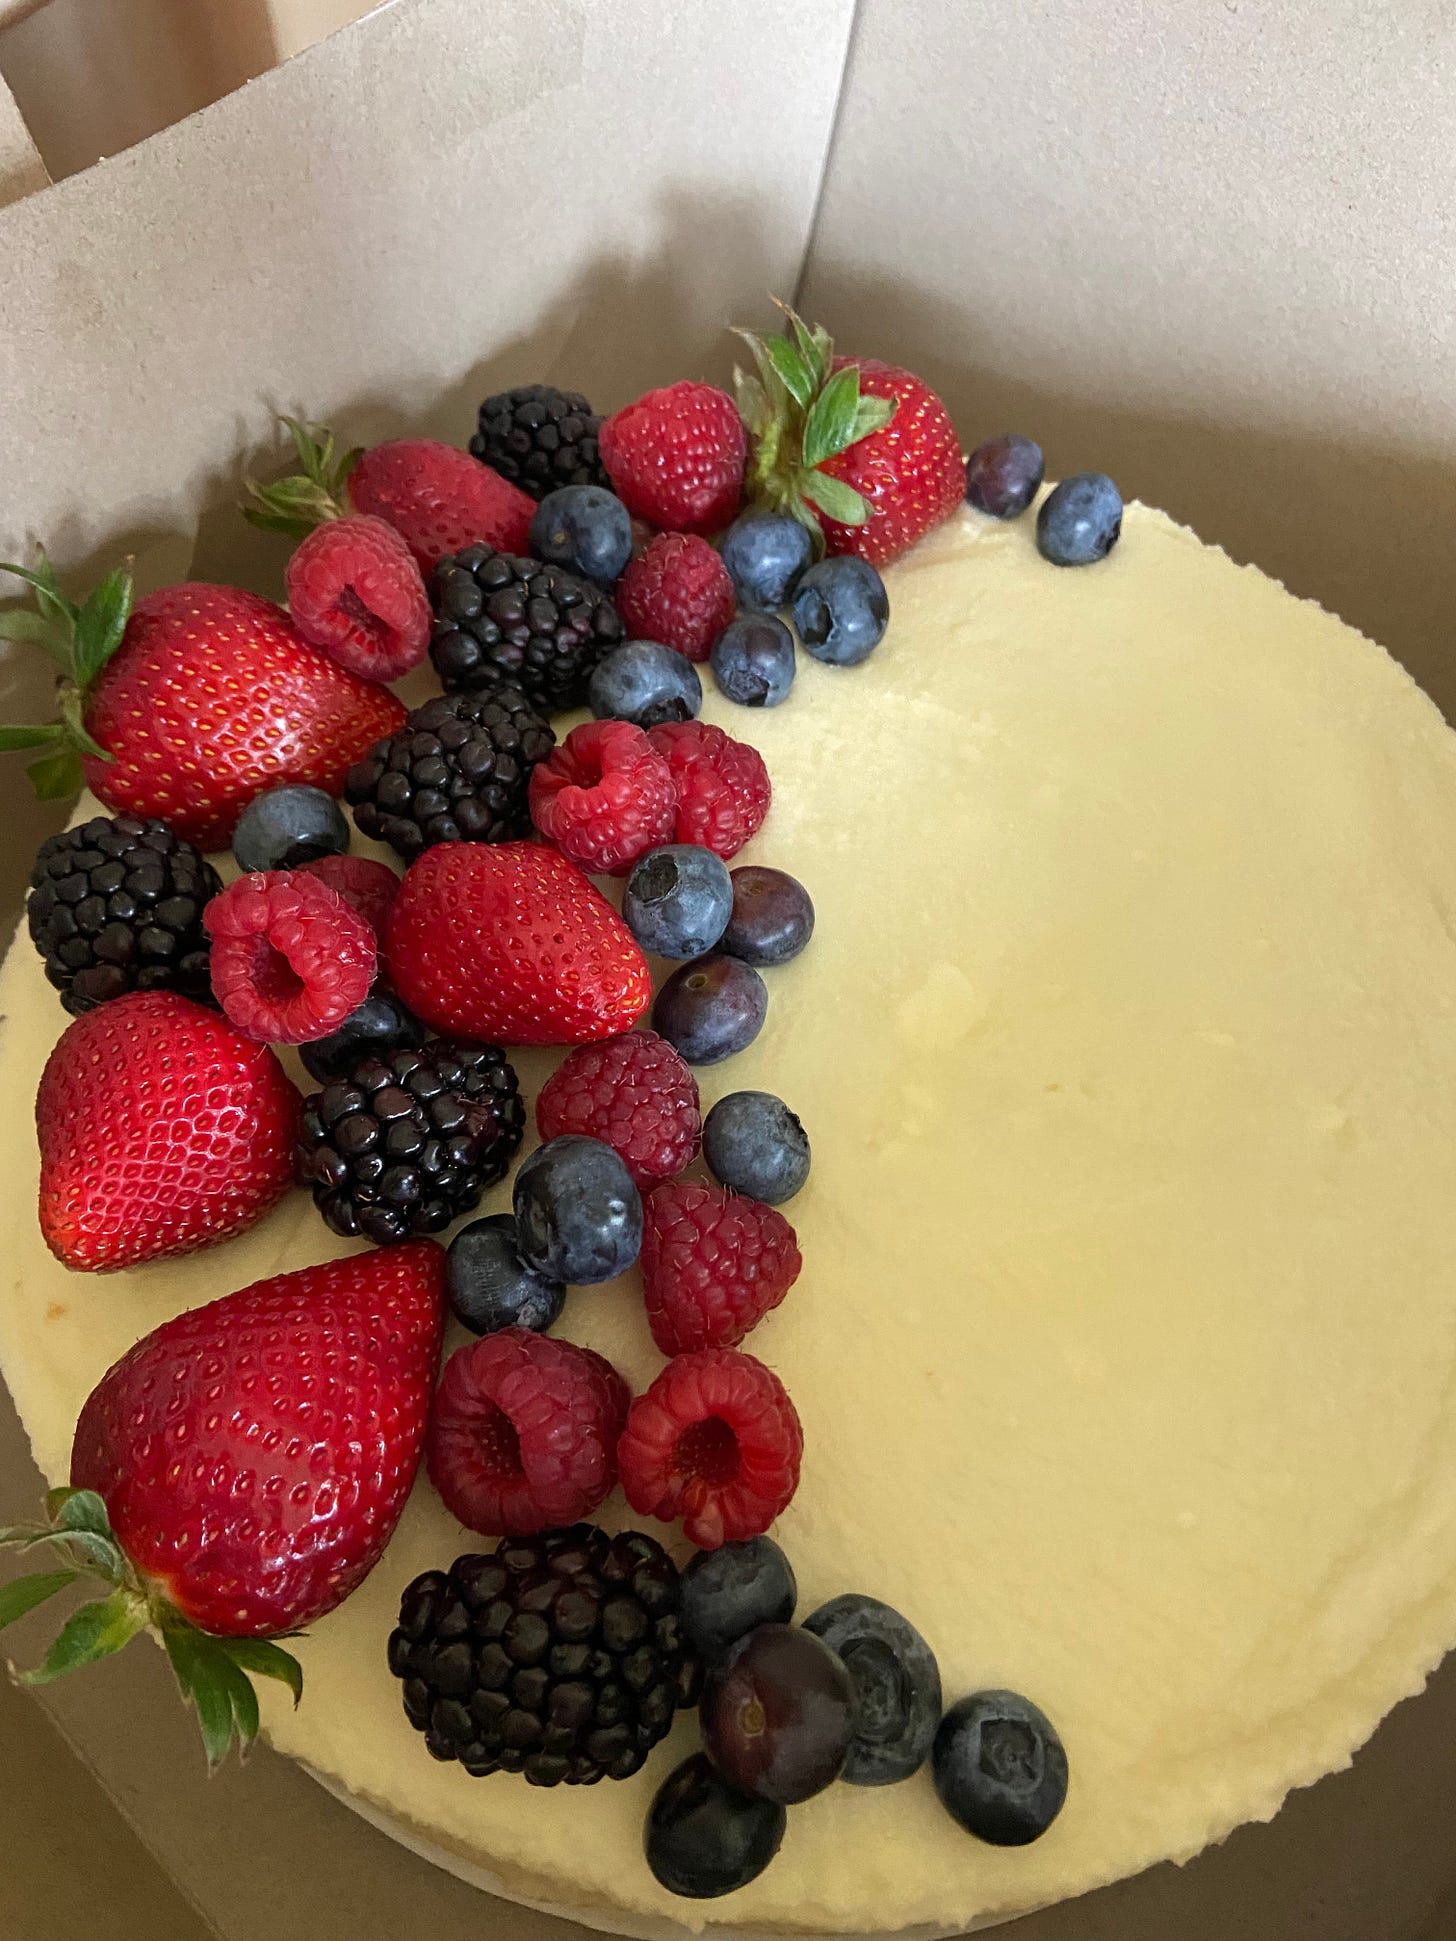
Tender gluten free white cake loaded with fresh berries and a mascarpone cream frosting
Never miss a recipe and join this buzzing community!
Dear friends,
Gluten-free white cake has always been difficult to manage. Chocolate cakes (like mine here) are moist, fudgy, and easy to turn out gluten free. For a few years after our house went gluten free I tried to steer everyone that direction. How about a devils food cake? Chocolate peanut butter? No one was sad, but the gluten free vanilla cakes just seemed a little heavy, a little sandy, not quite what I was hoping for. Then I figured out the technique that changed it all: reverse creaming. It seems like a little thing, but oh what a difference it makes. Get ready, you are going to love this.
A few weeks ago I went to a culinary conference, after 2 years of NOT gathering it was a breath of fresh air, and a little overwhelming at the same time! At lunch on the last day, I sat next to one of my culinary heroes (many were in attendance so it wasn’t hard to do!) Rose Levy Berenbaum, author of the Baking Bible, the Cake Bible and many other gorgeous baking works. We chatted about mutual friends, a particularly spectacular baker who had just moved to my neck of the woods, and fun baking tools RLV had invented. I mentioned to her that the technique of reverse creaming that she invented made beautiful tender lofty gluten free vanilla cakes possible when they were otherwise leaden and heavy. She didn’t invent this for gluten free cakes, as she works with wheat flour and she seemed intrigued.
Me too, what’s the deal? To reverse cream - instead of beating butter with sugar and then adding the rest of the ingredients, you beat softened butter into the dry ingredients, coating the flour in the fat, then add the liquid ingredients. It seems like a small change, why does that make a difference? In a gluten cake this technique helps keep tough gluten from forming when the flour and liquid meet, but that’s hardly the case in gluten free baking. BUT one of the secrets of great gluten free baking is mixing for an extended period of time, it helps hydrate the flour and gives you a lovely (not grainy) texture. In a cake where you beat the butter and sugar together first, the extended mixing time gluten free cakes need can cause that fluffy mixture to break, and either become lumpy or just fall flat, perhaps that is why reverse creaming makes such a glorious gluten free cake? Whatever the reason, the end result is so worth switching things up!
This is my knockoff of a beautiful creamy vanilla and fruit laden cake from a certain famous fancy pants grocery store chain. You know the one that everyone jokes takes your whole paycheck to shop there? This cake is a staple, birthday parties, baby showers, you name it, there’s never a bad time for it. When our house went gluten-free there wasn’t a gluten free version of it (although that is SOMETIMES available now) so I set about making one.
Gluten Free Chantilly Cake
yield: 9 inch 2 layer cake
For the Cake:
2 1/4 cups (333g) gluten free pastry flour (recipe included) or One to One Gluten free Flour such as Bob’s Red Mill 1 to 1 gluten free flour blend
1 ½ cup (300g) sugar
2tsp (8g)baking powder
1/2 tsp (2g) baking soda
1/4 tsp (2g) salt
3 large eggs
1 cup (240g) buttermilk or unsweetened coconut yogurt
1/4 cup (49g) softened butter or coconut oil
2 tsp (4g) vanilla extract
For the Cream
1 cup (240g) heavy whipping cream (or coconut cream)
2 cups (224g) powdered sugar sifted
1 tsp (4g)almond extract
1 tsp (4g) vanilla extract
2 cups (450g) mascarpone Italian style cream cheese (or vegan cream cheese) softened
To Assemble
1/3 cup (105g) raspberry jam
1 quart (800g) mixed berries, sliced
Preheat the oven to 350° and butter two 9 inch cake pans – line the bottom with parchment. In a large mixing-bowl, gently combine the dry ingredients including sugar and mix to fully combine. Add butter or coconut oil and mix on medium speed with an electric beater until butter is incorporated into dry ingredients, it’s ok if very tiny clumps of butter remain. (This is call reverse creaming and makes the cake so light and fluffy!) Add the eggs, buttermilk and vanilla and mix until fully combined.
Spread the batter into the prepared pans evenly, and gently tap on the counter. Bake for 30-35 minutes, until the top is golden brown and a cake tester or skewer comes out clean (205 degrees F). Let stand for 10 minutes, then transfer to a rack.
Beat the cream and powdered sugar to soft peaks. Gently fold in the softened cheese and extracts.
To assemble cake, put one layer on a plate, spread on the jam and add ½ of the berries, top with a thick layer of the mascarpone whipped cream, top with the other cake layer, add frost the top and outside of the cake with the rest of the mascarpone whipped cream and use the remaining berries to decorate the top of the cake.
This flour is the perfect mix for the cookies, cakes, muffins, and quick-breads in your life. It’s light and feathery and gives you a light melting mouthfeel. Different brands of the ingredient flours have different grinds. Finer flours might pack into the cup – while courser flours won’t fit nearly as much in a cup, so weighing your ingredients will give you MUCH better results! On a simple scale put a medium to large bowl, shake or spoon on the flours and hit that “Zero” or “tare” button after each one. Voila! Cleanup is nearly nonexistent and you’ve got a much more reliable flour! Note- this flour is not meant to be used in yeast based recipes, breads and cinnamon rolls need a bit more strength and not as much tenderness.
Gluten Free Pastry Flour Mix
yield: 8 cups (1,177g)
2 cup (260g) sweet white rice flour (mochi flour or mochiko)
2 cup (256g) fine brown rice flour
2 cup (380g) potato starch
1 cup (118g) sorghum flour
1 cup (160g) tapioca flour
4 tsp (3g) xanthan gum
Scoop all ingredients into a large bowl and whisk well to combine. Store in an airtight container.
NEW!! Downloadable PDF of This Recipe
Download/print the recipe above for easy use - hang it on the fridge, or collect them each newsletter to create a gluten free cookbook!
Gluten Free Cake Tip
Does your cake puff up in the middle, making it hard to stack the layers? Most recipes advise you to cut that “dome” off, but gluten free cakes can get crumbly and unwieldy when you try to do this. Use a cake core for even heating while the cake bakes to create flatter layers that are easier to stack. (DON’T forget to take them out before you ice or serve the cake…eeek!!)
Gluten Free Tips for Summer
As you hit the road this summer you might do some dining out, check out these helpful tips from the gluten intolerance group.
The Online Nourished Festival has some wonderful advice for gluten free grilling and even some gluten free sunblock picks.
Haven’t set a summer vacay destination yet? Here is a list from Matt at Wheatless Wonderlust of his top 10 gluten free destination cities across the globe.


i love a good knockoff. I’ll have to try this with homemade whipped cream with my isi siphon
Perfect.
Made this for my best friend’s daughter’s bridal shower - it was a hit!
I added lemon extract to the “Bob’s Red Mill” batter.
The bride asked if I could make it for her wedding! 🥰